
How to increase sales during a webinar
Selling live comes down to one button on top of the stream and the preparation behind it. Here is how the CTA button works in Ednice, when to show it, and which numbers to watch while you are on air.
webinars-sales#sales#webinars
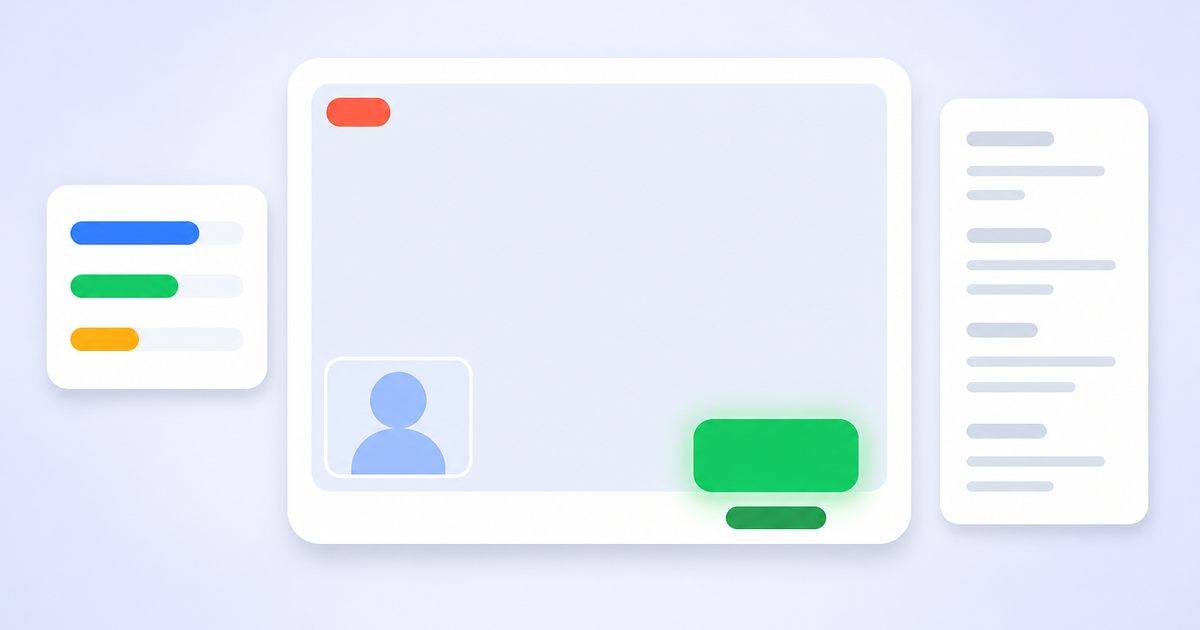
The usual sales webinar goes like this: the author gives two hours of genuine value, names the price at the end, reads out the link out loud — and half of the audience leaves to look for it in the chat. Technically everything worked, yet there are almost no sales.
In Ednice, selling on air works differently: you have a button that appears on top of the stream at the moment you choose and leads straight to checkout. Nothing to dictate, no reason to leave the broadcast. Below is how to set it up, when to show it, and what to watch so you catch the right moment.
What you are actually selling on air
One detail shapes the whole preparation: the button on air sells a course cohort, not the webinar itself. When you create it, the product list shows "course — cohort" pairs with prices. So the product has to exist before you go live.
The button has its own price, separate from the course price. Payment goes through at that price — this is exactly the "price only for people who are here right now" mechanic. Filling the price field is mandatory: an empty price breaks checkout.
That also answers the common question of how to sell a single webinar. If the product is the broadcast itself, create a course with one lesson, attach the webinar to that lesson and sell its paid cohort. The mechanics are the same, and the student gets both the live session and the recording.
Step 1. Prepare the product and the company details
Two things without which the button will not work:
- A course with a cohort. A course with the "Paid" access type and a price, containing at least one cohort. You can keep filling the outline after the broadcast, but the cohort has to exist.
- Verified company details. The Settings menu holds your organisation details (legal form, name, tax ID, address; sole proprietors and companies also need a state registration number) and the Verified status. Until that status is there, the payment form will not open for students — check this in advance, not five minutes before you go live.
Step 2. Gather your audience with a link
The host panel has a Registration and recordings block with a Registration link field and a QR code. Copy the link and share it anywhere: in a newsletter, on social media, in a messenger. Registration is free — the student enters an email and a name, then lands on the waiting page.
If the webinar is attached to a course lesson, there is no registration link: the audience for that broadcast is the students of the course, and they join through the lesson in their own dashboard.
The dashboard does not send reminder emails, so the reminder a day before and an hour before is on you and your channels. It is a boring item on the list, but it affects attendance more than anything else in this article.
Step 3. Create the button in advance
Preparing the button while you are live is a bad idea: it is several fields and dropdowns. Do it before you start.
In the host panel, open the Calls to action. CTA buttons block (in the new panel it lives under More, in the previous one on the CTA / Polls tab) and click Add CTA. In the form:
- Course — pick a "course — cohort" pair from the list;
- Button label — one of the ready options: "Buy now", "Order at a discount", "Get the course", "Place an order", "Reserve a seat";
- Timer (minutes) — from 0 to 60, where zero means no timer;
- Price — from 1000 ₽, and this is the price the payment goes through at;
- Button colour — five options, so the button does not get lost against the slide.
You can create several buttons and choose between them on air. That is more useful than it sounds: one button with a special price and a 15-minute timer for the main offer, and a second one without a timer for the people who stayed to the end.
Step 4. Show it at the right moment
The mechanic is simple: select a button in the list and it immediately appears over the stream for your viewers; deselect it and it disappears. The panel shows a "visible to viewers" label next to the block, so the state is always clear.
The button can be dragged around the scene and resized — move it away from the important part of the slide and do not cover the speaker's face.
The timer runs as a countdown right on the button. When it reaches zero, the button hides itself. That is an honest deadline rather than a figure of speech: viewers see the same digits you do and do not expect the offer to sit around until the evening.
One practical note: the button only lives on air. Say the price, what the course includes and how long the offer stands out loud anyway, and duplicate it in the chat — part of the audience is watching from a phone and will decide after the broadcast.
Step 5. What the student sees
Clicking opens the payment form, and there is more there than a card field: the seller, the tax ID, the address, the access period, the cancellation and refund terms, a checkbox for the terms of service and a Continue to payment button. Then comes the card payment through the bank's secure form.
After a successful payment the student sees a confirmation and a note that the course will appear in the Courses section of their dashboard. If they already have access, instead of checkout they get a "You already own this product" message — nobody is charged twice.
The button works the same way in the browser and in the student mobile app, so you will not lose the mobile audience.
Step 6. Warming up before the button
An offer rarely sells itself — what sells it is everything that came before. The broadcast has built-in tools for that:
- Polls: a question and two to ten options, with multiple choice if you need it, and results you can show to viewers. A poll before the offer helps voice an objection out loud: people see for themselves that half the room is stuck at the same point.
- Chat: opens once you go live. Viewers cannot post links, the host can — so nobody can spam your chat, while you can still drop a link. Messages can be deleted and the chat can be cleared entirely.
- Reactions, raised hands and bringing a viewer on air: a live question asked out loud removes doubts better than ten slides.
- Presentations, screen sharing and drawing: work through the question on the slide right then, instead of "I will send it later".
Step 7. Watch the numbers while you are on air
The moment for the offer is usually picked from the script — and that is a mistake. The host panel has live analytics: Online now, Watching closely, In the background, Average time on air, 5-minute and 10-minute retention, Joined and Left over the recent time windows, Peak and Total joined.
There is one practical conclusion from these numbers: show the button while the share of attentive viewers is high. If "Watching closely" has already dropped and people are leaving faster than they arrive, there is no point waiting for a neat finale — the offer is better given earlier.
After the broadcast, the Webinars list shows Registered and Attended columns for each event, and the dashboard home page shows average attendance. Payments arrive in the Payments section with the amount, the fee and the payout status. That is enough to count the broadcast honestly: how many came, how many stayed, how many bought.
Step 8. Following up after the broadcast
Half the sales of a webinar usually happen outside the broadcast. Two tools that work here:
The recording. Turn the Record the broadcast switch on before you start — then recording begins together with the stream. You can toggle it during the broadcast, and every fragment is saved to the list. Participants see the recording in their dashboard, and that is your answer to everyone who could not make it on time.
A trial cohort. A course can have a trial cohort: days of access, a lesson limit and a target paid cohort. The student joins through a link without paying, sees a "Trial access" banner and a Pay for full access button, and after paying moves into the paid cohort automatically — no manual transfers needed. For people who did not commit during the broadcast, this is a gentle second step instead of a third email with the same price.
A short checklist
- the course and the cohort exist, and the school details are in the "Verified" status;
- the CTA button is built before the broadcast: product, label, price, timer, colour;
- the registration link is sent out and the one-hour reminder has gone;
- on air: poll, then offer, then the button, while the share of attentive viewers is high;
- the price and the deadline are said out loud and duplicated in the chat;
- recording is on and a trial cohort is ready for those who did not buy right away.
None of this makes a webinar sell by itself. But it removes the main losses: dictated links, "I will pay later from the website", and an offer made when the room has already emptied.
Run a selling broadcast in Ednice
The webinar, a checkout button over the stream and the recording — all in one author dashboard. Setting it up takes a single evening.