
Course structure for a quick start
How to lay out a course so that you actually reach launch instead of getting stuck on the first module: the skeleton, lesson size, assignments and cohorts.
teaching-tips#course structure#courses
First courses rarely stall because there is not enough material. Usually it is the opposite: there is plenty of material, but deciding where to start and where to stop is the hard part. The familiar scenario is an author polishing the introductory module for a month, never reaching the second one, and leaving the course in the "In development" state forever.
A quick start is not about doing less. It is about the order of the work: the skeleton first, the content after. Below is how to build that skeleton in the Ednice author dashboard, what to add right away, and what can safely wait.
The skeleton matters more than the first lesson
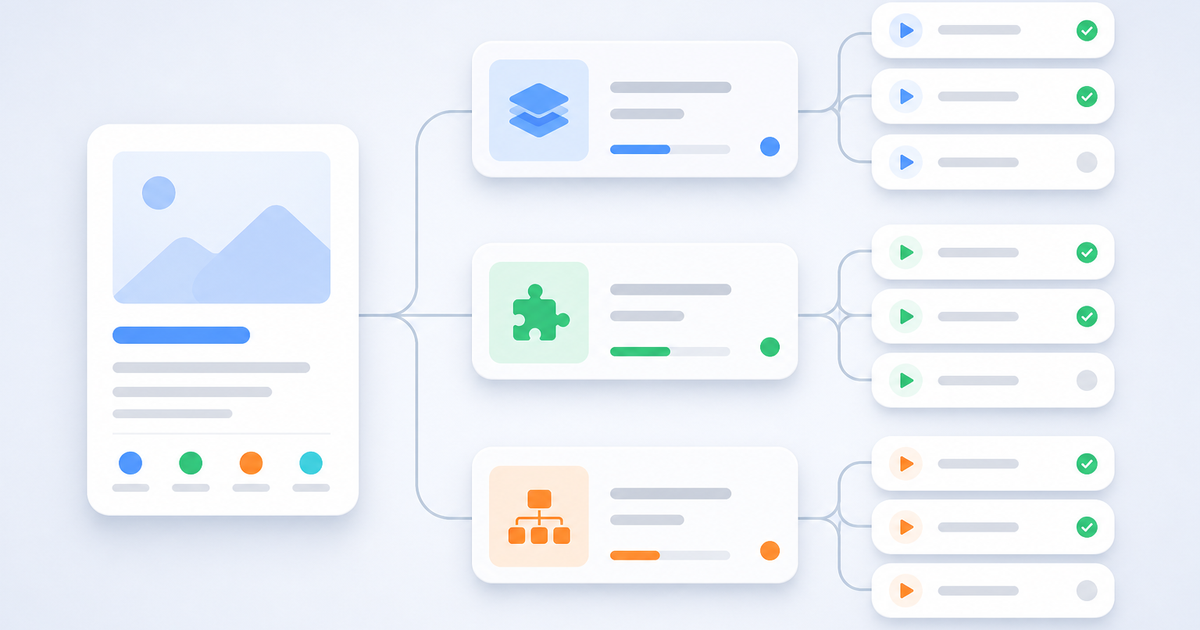
A course outline in Ednice has three levels: course, module, lesson. Modules and lessons are reordered by dragging, so you do not have to guess the final sequence on the first try.
A practical trick is to create every module and every lesson in one sitting, with titles only. An empty lesson called "How to choose a format" already carries information: it shows that the topic exists in the course and where it sits. Once the whole outline is visible at a glance, it usually becomes obvious that two modules overlap and that the transition between the third and the fourth is missing. Those are one-minute fixes — as long as you have not yet recorded an hour of video.
While you work, the course stays in the "In development" state and remains invisible to students. Publishing is a separate action you take when the outline is ready, so you can build the skeleton without worrying.
If the words "module" and "lesson" do not fit your subject area, you can replace them with your own in the course settings — with "term" and "class", for example.
One lesson, one idea
The next question is how big a lesson should be. The answer that saves the most time: one lesson, one idea the student can apply immediately.
That also determines the set of materials. A lesson can hold video, audio, text, an image, a presentation and a webinar. Video, audio and webinar are limited to one per lesson, which follows exactly the same "one idea" logic. Texts, images and presentations can be added as many as you need.
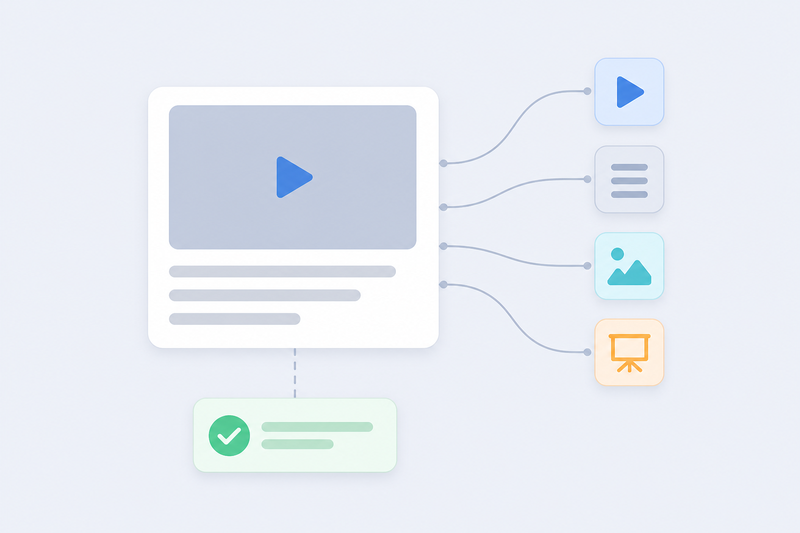
The combination that works best for a quick start is a short video plus a text. The video explains, the text stays as a summary the student can reread without watching the recording again. If you do not have the video yet, a lesson made of a single text is still a lesson. Students will see it right away, and you can add the video later without rebuilding the outline.
You do not have to upload files into every lesson separately. The school media library stores video, audio, presentations and images, and inside a lesson you simply pick what you need. Uploaded video and audio are processed by the platform, which also fills in the metadata — title and description — so you do not have to type it in by hand.
Assignments belong where the student has to do something
A course made only of things to watch is easy to get through and just as easy to forget. The points where the student does something themselves are called assignments in Ednice. An assignment has a text, a score and an optional reference answer — the model you lean on when reviewing. The student replies with text and can attach images: a screenshot, a photo of their work, a breakdown of their own example.
There is one detail here that directly affects course structure. A lesson counts as completed only when the materials have been viewed and every assignment in it has been accepted. In other words, an assignment is not decoration — it is a real checkpoint in the student's progress.
Which leads to a practical rule for a first course: do not put an assignment in every lesson. One per module is enough, placed where it matters that the topic was understood. Submitted answers collect in the "Reviews" section with the "Awaiting review", "Awaiting revision" and "Reviewed" queues, so you go through them in a batch instead of hunting through lessons.
You can also grant a reward for finishing a module — a small incentive to reach the end of a block instead of abandoning it halfway.
Look at the course through your students' eyes
Before you open access, it is worth checking how the outline looks from the other side. The author dashboard has two different tools for that.
The first is the "Student preview" mode inside a lesson. It hides the editing controls and shows the lesson the way a student receives it: with the finished materials and without the drafts. This is a quick check of one lesson.
The second is "Enter as a student" on a cohort. It opens the entire student dashboard: the list of lessons, their order, progress and assignments. This is where you find what the editor cannot show you — a lesson that still contains only draft materials, an assignment with a confusing wording, a module that starts too abruptly.
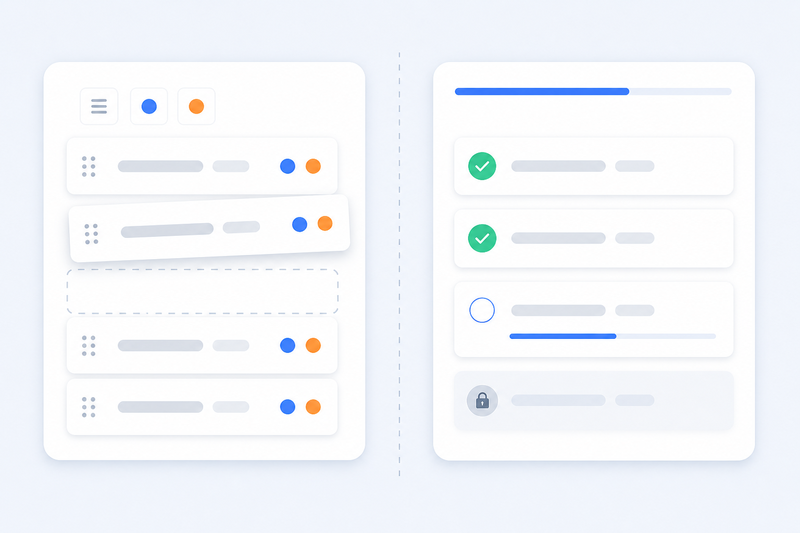
While you are there, decide whether to enable sequential progression. With it on, a student moves to the next lesson only after finishing the previous one: that adds discipline, but it requires the order to be well thought through and every lesson to be ready. For a first launch it is often calmer to leave the order free.
The cohort decides who joins and when
The outline is the content; a cohort is a specific launch. A cohort has a start and an end date or unlimited access, a registration link, and the option to include only part of the modules rather than all of them.
That last one is especially useful early on: you can open a cohort with the first modules while you are still writing the rest. Students start learning, and you get feedback on real lessons instead of assumptions.
The access type is chosen at course level: free, paid with a price, or a subscription with a monthly and, if you want, a yearly price. There is also trial access — limited by duration and number of lessons, with a transition into a paid cohort of your choice. Once published, the course appears in the catalogue on the website, showing the cover, description, outline and price, with a button that leads to cohort registration.
The order that works
If you boil it all down to a sequence:
- create the course and add every module and lesson as titles only;
- drag them around until the outline reads cleanly from top to bottom;
- fill the lessons — video plus text, everything else as needed;
- add one assignment per module;
- check the course through "Student preview" and "Enter as a student";
- create a cohort, from part of the modules if necessary, and publish the course.
This order does not make the course better on its own. It does something else: it keeps you from getting stuck on the first module and carries you to the point where students can actually see the course. New modules, webinars inside lessons, a second take of the video — all of that is added later, on a live course, and it gets in nobody's way.
Build the skeleton of your course
Modules, lessons, assignments and cohorts in a single author dashboard. You can lay out the outline today and fill it in as you go.