
How to build a course with a daily live lesson
A daily live session inside a course is one lesson with a recurring webinar. You set the schedule once, and after every broadcast the webinar moves itself to the next date.
teaching-tips#courses#webinars
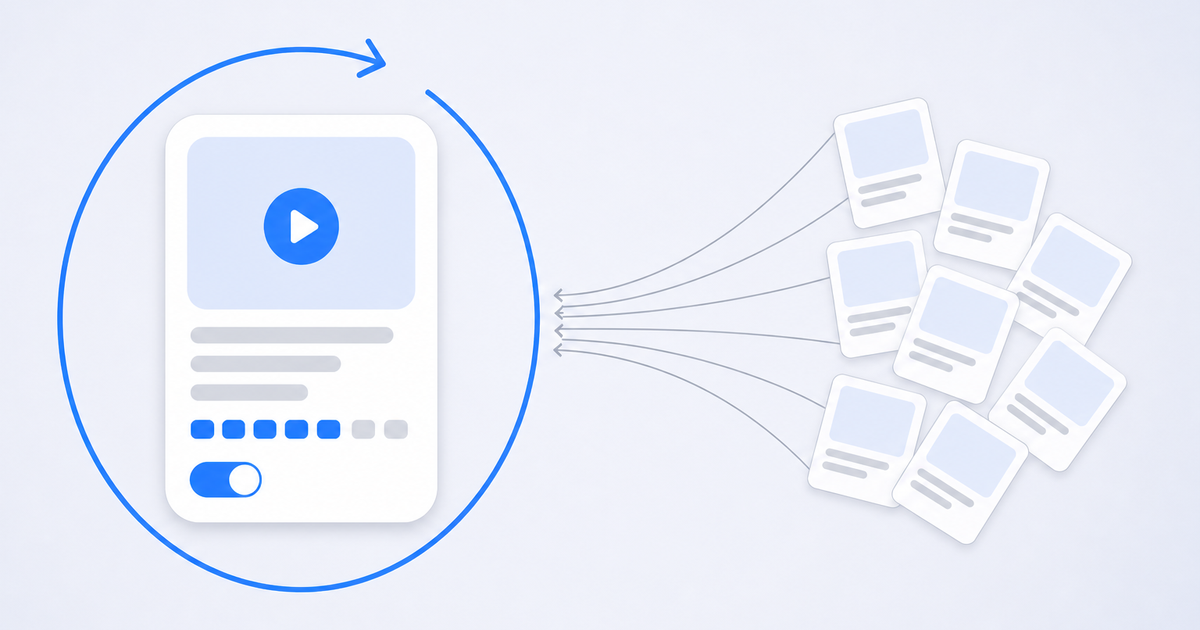
The "every day at 7 pm we go live" format holds a group's attention well, but the routine scares authors off: it looks as if every broadcast will need its own lesson. In the Ednice author dashboard that is not the case. Below is a step-by-step build of a course where the daily broadcast lives in a single lesson, with a paid and a trial cohort running on top of the course.
Step 0. Preparation
- A school must already be created.
- Go to the Settings menu, fill in your organisation details (legal form, name, tax ID, address; sole proprietors and companies also need a state registration number) and wait for the Verified status. Without it, students will not be able to pay.
Step 1. Create the course
- Go to the Courses menu and click the green New course button (to the right of the status filters).
- Fill in:
- Course title — required;
- Access type → Paid;
- Price — required, greater than zero.
- Upload a cover if you want. The save button goes inactive while the upload runs — that is normal, just wait for it to finish.
- The Publish immediately switch can be turned on now or later (in the edit form it becomes the Status select).
- The green Save button is at the bottom of the form. If it is inactive, a "To save the course, you still need to:" block above it lists what is missing.
- After saving, the dashboard opens the course outline.
Step 2. Create two modules
On the course outline page:
- Add Module → Title: "Daily webinar" → Save.
- Add Module → Title: "Main programme" → Save.
The split exists so that later you can give the trial cohort the webinar module only.
Step 3. Create one lesson with a daily webinar
This is the key step, and it is a short one: you need one lesson for all broadcasts.
- In the "Daily webinar" module click Add Lesson → give it a Title, for example "Daily live session" → Save.
- Open the lesson → Materials → Add material.
- Material type → Webinar → the Create webinar button.
- In the form (it opens in a simplified view, with the title already taken from the lesson):
- Webinar title — adjust if needed;
- turn on the Recurring switch;
- Period → Every day;
- Time → the time of the broadcast, 7:00 pm for example (minutes in steps of 5);
- Time zone — Moscow, UTC+3, by default;
- in the More block — Duration (minutes), 60 by default;
- Main speaker — who is hosting.
- Click Create webinar.
As soon as you switch Recurring on, the Date and Time fields disappear: the system no longer cares about a specific date, it works out the next broadcast from the schedule and the time zone by itself.
Other schedule options
- Every week — instead of a single time you get day-of-week checkboxes, and every checked day has its own time. Monday to Friday are checked by default. Handy when there is no broadcast on weekends.
- Every month — a Days of the month field: you can list values separated by commas and as ranges, for example "1,15" or "1-5,20". If a short month does not have that day, the broadcast is simply skipped that month.
How the move to the next date works
After you press End broadcast, the webinar returns to the Scheduled status by itself in about 10 minutes and takes the next date from the schedule. If you skipped a day and never went live, the webinar still moves on as soon as its end time passes. No manual action is required.
Worth remembering
- One lesson equals one webinar; the system will not accept a second attachment. If you need two different broadcasts on the same day, create two lessons with two recurring webinars.
- The Webinar type is not asked for in the simplified form and stays free — which is correct, because access to the lesson is sold through the course cohort. The paid type is only needed for standalone webinars outside a course.
Step 4. Sketch out the remaining lessons
In the "Main programme" module, create lessons with titles only: Add Lesson → Title → Save. Materials and assignments come later:
- Materials → Add material → type Video, Audio, Text, Image or Presentation;
- Assignments → Add assignment → the assignment text, Score, and optionally a Reference answer for automatic checking.
Step 5. Create the paid cohort
Create the paid one first — a trial cohort will not save without it.
- Go to the Courses menu and click the Cohorts button on the course card → New cohort.
- Fill in:
- Title, for example "Main cohort";
- Start date — required;
- End date — can be left empty, and then the cohort has no time limit;
- Cohort modules — check both modules.
- Leave the Trial cohort switch off.
- Save.
The price comes from the course; a cohort has no price of its own.
Step 6. Create the trial cohort
- In the same place, click New cohort.
- Give it a Title, for example "Trial access", and a Start date.
- Cohort modules — check "Daily webinar" only.
- Turn on Trial cohort and fill in the fields that appear:
- Days of access → 5;
- Lesson limit → 1 (the trial module holds exactly one lesson with the broadcasts);
- Target paid cohort → the cohort from step 5.
- Save.
Step 7. Open registration
- On the Cohorts page, in the trial cohort row, click Copy link in the Registration link column.
- Hand that link out to students — everyone registers for the trial cohort without paying. The 5-day period counts from the student's registration date, not from the cohort start date.
- You do not need to hand out the paid cohort link: inside the trial, the student sees a Trial access banner and a Pay for full access button. After a successful payment they are enrolled in the paid cohort automatically, with no manual transfers.
Step 8. Run the broadcast
Every day you open the same lesson.
- Open the lesson → on the webinar material card:
- the green Start lesson button opens the host panel straight away;
- the Edit pencil opens the full webinar form if you need to change the time, the schedule, the speaker or the duration;
- under the title you can see the recurrence in words, for example "every day, 7:00 pm".
- In the host panel, turn on Record the broadcast if you need it.
- Press GO LIVE. Until then, students see a waiting page.
- When you are done, press END BROADCAST. The webinar will move to the next date by itself.
You do not need to create a room, it comes up on its own. You do not need to send students a link — they join through the lesson in their own dashboard. The Webinars menu → Host panel works too, but going through the lesson is faster.
Step 9. Manage the recordings
Because all the broadcasts run in one lesson, the recordings pile up there — convenient for students, and requiring a little tidying from you.
- Under the webinar card in the lesson there is a list of recordings with dates. Each one opens in a player right inside the dashboard; the student sees the same list.
- To delete a recording, click the bin icon next to it and confirm the warning. Deletion is permanent: the file itself is erased from storage along with the row, and it cannot be restored. You can delete from the lesson, from the webinar catalogue and from the host panel.
Once a month it makes sense to go through the list and delete the outdated broadcasts, so the lesson does not turn into an archive of a hundred entries.